Easy Homemade Sourdough Bread Recipe You’ll Love
Table of Contents
Easy Homemade Sourdough Bread Recipe :
Every kitchen has a story. Mine started with flour, water, and time turning into a beautiful artisan bread. This bread fills my home with warmth and love. Making your own sourdough bread is more than cooking. It’s an art that connects us through delicious food.
Making sourdough bread at home is easier than you think. It only takes 25 minutes of hands-on work. And less than 5 minutes to mix the dough. You can make loaves that will wow your family and friends. This recipe is great for both beginners and experienced bakers.
Sourdough is special because of its natural fermentation. Unlike commercial breads, it uses a homemade starter. This takes about a week to develop. The result is a tangy flavor and a texture that’s unmatched. Each loaf is a story of patience, tradition, and creativity.
If you love bread or are just curious, this recipe will turn your kitchen into a bakery. Get ready for a journey that mixes science, art, and comfort.
What is Sourdough Bread?
Sourdough bread is a fascinating culinary tradition. It turns simple ingredients into a complex, delicious food. Unlike commercial yeasted breads, sourdough has a unique fermentation process. This creates its tangy flavor and remarkable texture.
A sourdough starter is a living ecosystem of wild yeast and beneficial bacteria. This natural fermentation method makes sourdough different from other bread-making techniques. When you cultivate a sourdough starter, you’re creating a microbial community that brings bread to life.
History of Sourdough
The origins of sourdough go back thousands of years. Ancient Egyptians were among the first to discover how wild yeasts could transform flour and water into a rising dough. Bread makers across different cultures developed their own sourdough traditions, each with unique characteristics:
- Ancient Egyptians used sourdough techniques around 1500 BCE
- San Francisco became famous for its distinctive sourdough during the Gold Rush
- European bakers preserved sourdough techniques for generations
What Makes Sourdough Unique?
Sourdough bread is unique because of its remarkable characteristics. Using whole grain flour, the fermentation process breaks down complex carbohydrates. This makes the bread more digestible. The slow fermentation also develops a deeper, more complex flavor profile that commercial breads cannot match.
“Sourdough is not just bread; it’s a living connection to our culinary heritage.” – Artisan Baker
Key differences include:
- Natural leavening process
- Enhanced nutritional profile
- Distinctive tangy flavor
- Improved digestibility
By understanding the sourdough starter and its fermentation process, you’ll unlock a world of bread-making. It goes far beyond simple ingredients.
Key Ingredients for Sourdough Bread
Making great sourdough bread begins with knowing the key ingredients. Each part is vital for flavor, texture, and quality. Let’s look at what makes a simple mix turn into a wonderful loaf.
Choosing the Right Flour
Finding the right flour is key for bread success. Bread flour, with about 13% protein, is the best choice. Here are some flour options to consider:
- Bread flour (high protein content)
- Whole grain flour for deeper flavor
- Rye flour for complexity
- Wheat flour for traditional texture
Water and Salt: The Supporting Actors
Water quality greatly affects your sourdough. Use filtered or spring water for the best taste. Salt boosts flavor and helps control fermentation and gluten.
| Ingredient | Recommended Quantity | Purpose |
|---|---|---|
| Bread Flour | 450 grams | Primary structure and protein |
| Water | 300 grams | Hydration and gluten development |
| Salt | 10 grams | Flavor enhancement |
Understanding Sourdough Starter
Your sourdough starter is the heart of your bread. It’s a living ecosystem of wild yeasts and bacteria that gives leavening and a tangy flavor. Building a healthy starter takes time, usually 7-14 days, depending on the temperature.
“A good sourdough starter is like a fine wine – it gets better with age and care.” – Artisan Baker
- Use a 1:1:1 ratio (10g starter, 25g flour, 25g water)
- Feed consistently at room temperature
- Discard portion before each feeding
- Verify starter readiness with float test
Learning about whole grain flour and bread baking techniques will help you make amazing sourdough bread. It will impress both bakers and bread enthusiasts.
Preparing Your Sourdough Starter
Starting a sourdough starter is the first fun step in making bread. This mix of wild yeast and bacteria will make your homemade bread special. It turns simple ingredients into a tasty, tangy loaf.
To start, you need just two things: flour and water. Your starter needs patience and regular care. This is how it gets its special flavor and helps your bread rise.
How to Make Your Own Starter
Here’s how to make your sourdough starter:
- Use high-quality, unbleached flour (whole wheat or rye is best)
- Mix equal parts flour and water by weight
- Keep it at an optimal temperature of 80°F (26°C)
- Discard and feed it daily
Tips for Maintaining Your Starter
To keep your starter healthy, you need to pay attention regularly. Here are important tips:
- Feed it twice a day, every 12 hours
- Use a 1:5:5 feeding ratio
- Watch for signs of active fermentation:
- Bubbles all over the mixture
- It’s rising a lot
- It smells sour and nice
“A well-maintained sourdough starter is the secret to extraordinary bread.” – Artisan Baker
Temperature is key for your starter’s growth. Warmer places make it ferment faster, while cooler ones slow it down. With the right care, your starter can last forever, becoming a favorite part of your baking.
The Sourdough Bread Recipe
Making the perfect sourdough bread is all about precision and passion. This guide will show you the key bread baking techniques. You’ll learn how to make a delicious homemade loaf that will wow bread lovers.
Gathering Your Ingredients
Before starting your sourdough bread recipe, make sure you have the right ingredients. You’ll need:
- 852g medium-protein bread flour
- 94g whole wheat flour
- 710g water (first addition)
- 95g water (second addition)
- 17g sea salt
- 30g ripe sourdough starter
Mixing the Perfect Dough
Mastering bread baking starts with mixing. Mix your ingredients carefully to get the best texture and flavor.
Step-by-Step Mixing Process
- Combine first water addition with ripe starter
- Mix in bread and whole wheat flours
- Allow initial autolyse for 30 minutes
- Add salt and remaining water
- Perform 6 sets of stretch and folds
| Fermentation Stage | Duration | Temperature |
|---|---|---|
| Bulk Fermentation | 4 hours | 78°F (25°C) |
| First Fold Interval | 15 minutes | Room temperature |
| Final Fold Interval | 30 minutes | Room temperature |
Expert Tips for Perfect Loaves
When perfecting your sourdough bread recipe, remember these key points:
- Hydration matters: Aim for 85% hydration for optimal texture
- Maintain consistent ambient temperature
- Watch for 50-75% volume increase during bulk fermentation
“Patience is the secret ingredient in every great sourdough bread recipe.” – Artisan Baker
With these bread baking techniques, you’ll make professional-quality sourdough bread. It will delight your taste buds and impress your friends and family.
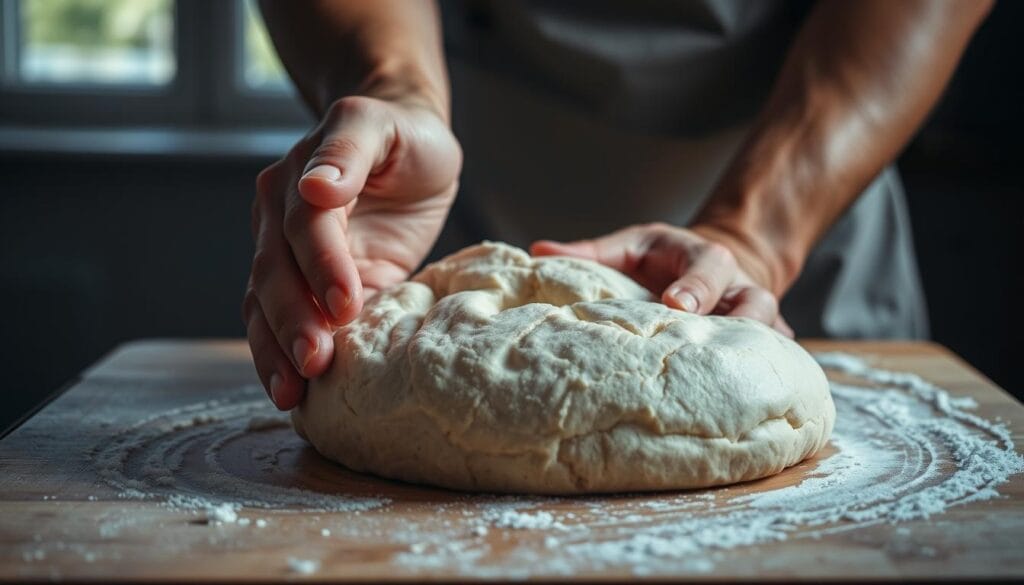
Techniques for Kneading and Folding
Mastering bread baking techniques is key to making the perfect sourdough loaf. Traditional kneading might seem tough, but modern methods offer easier ways to develop gluten. These methods help create amazing bread.
Gluten development is what makes a sourdough loaf great. Your bread’s texture depends on how you handle the dough during fermentation.
Understanding Gluten Development
Gluten forms when flour and water mix, creating stretchy protein networks. In artisan bread baking, gentle handling is best. It lets these proteins develop naturally.
- Gluten gives your bread structure and elasticity
- Proper development makes your bread light and airy
- Different methods can get you similar results
Stretch and Fold Method
The stretch and fold technique is a big help for home bakers. It involves:
- Four stretches in cardinal directions (North, South, East, West)
- Typically 3 sets during bulk fermentation
- Gentle handling to keep the dough intact
“The beauty of sourdough is in its simplicity and the baker’s touch.” – Artisan Bread Maker
Alternative Kneading Techniques
While hand kneading works, there are other modern methods:
- Slap and fold: Good for medium-hydration doughs
- Rubaud mixing: Best for high-hydration recipes
- Stand mixer methods: Quick and consistent
Each bread baking technique has its own special touch. Try different methods to see what works best for you!
Proofing Your Sourdough
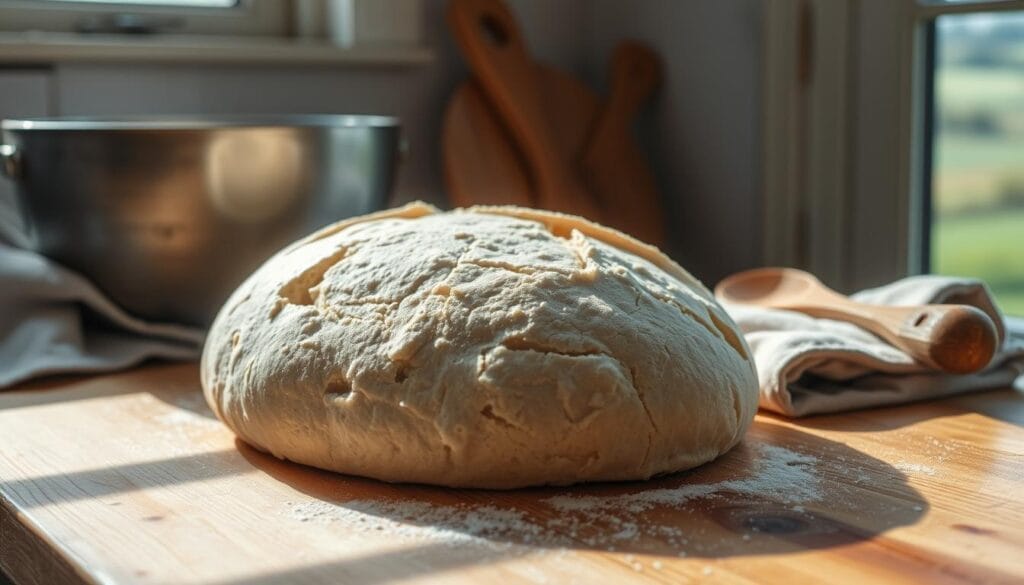
The fermentation process is key to making sourdough bread delicious. Knowing how to proof can take your baking from good to great. Let’s explore the important techniques for mastering your sourdough’s rise.
Understanding Bulk Fermentation
Bulk fermentation is when sourdough magic happens. It’s where your dough gets complex flavors and a strong structure. This stage involves a few important things:
- Optimal temperature range: 80°F to 90°F (27°C to 32°C)
- Expected volume increase: About one-third of the original dough size
- Typical fermentation time: 10-12 hours
Temperature is very important in proofing times. Warmer environments speed up fermentation, and cooler ones slow it down. For example, at room temperature (74-76°F), proofing takes 2-4 hours.
The Final Proofing Stage
The final proof is your dough’s last chance to improve flavor and structure before baking. Here are some proofing strategies:
| Proofing Method | Temperature | Typical Duration |
|---|---|---|
| Room Temperature | 74-76°F | 2-4 hours |
| Refrigerator Proofing | 39°F | 10-16 hours |
| Warm Kitchen | 80°F | 1-2 hours |
“Patience is the secret ingredient in sourdough bread making.” – Artisan Baker
Pro tip: Look for visual signs during proofing. A well-proofed dough is puffy, light, and springs back when pressed. Don’t over-proof, or your bread might collapse in the oven.
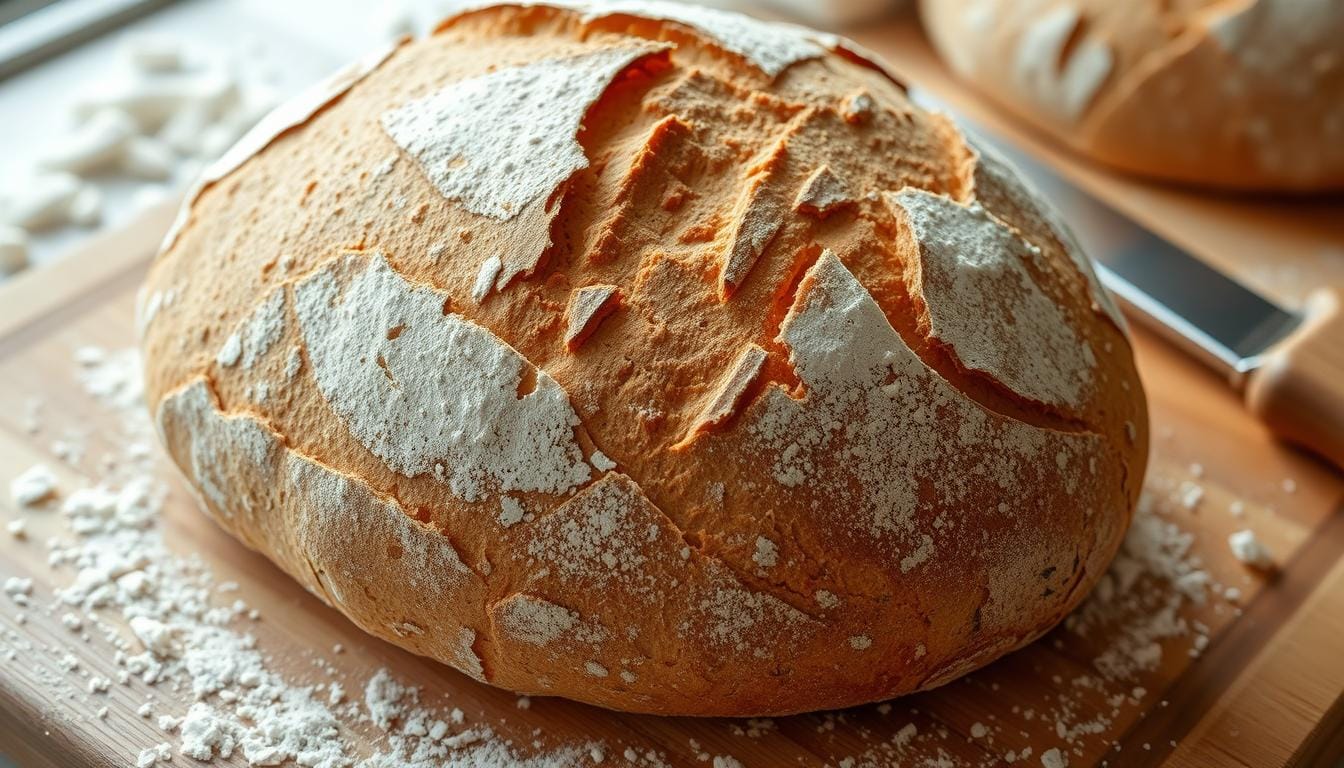
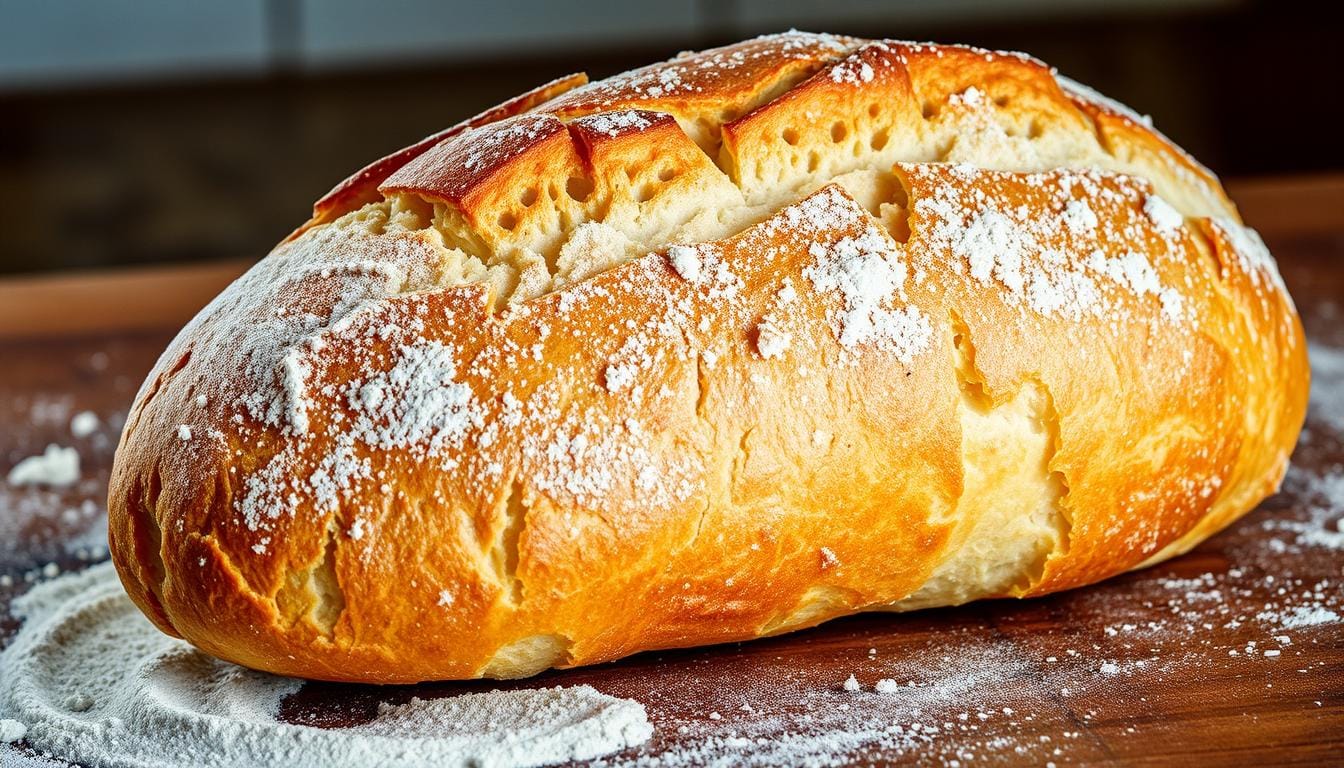
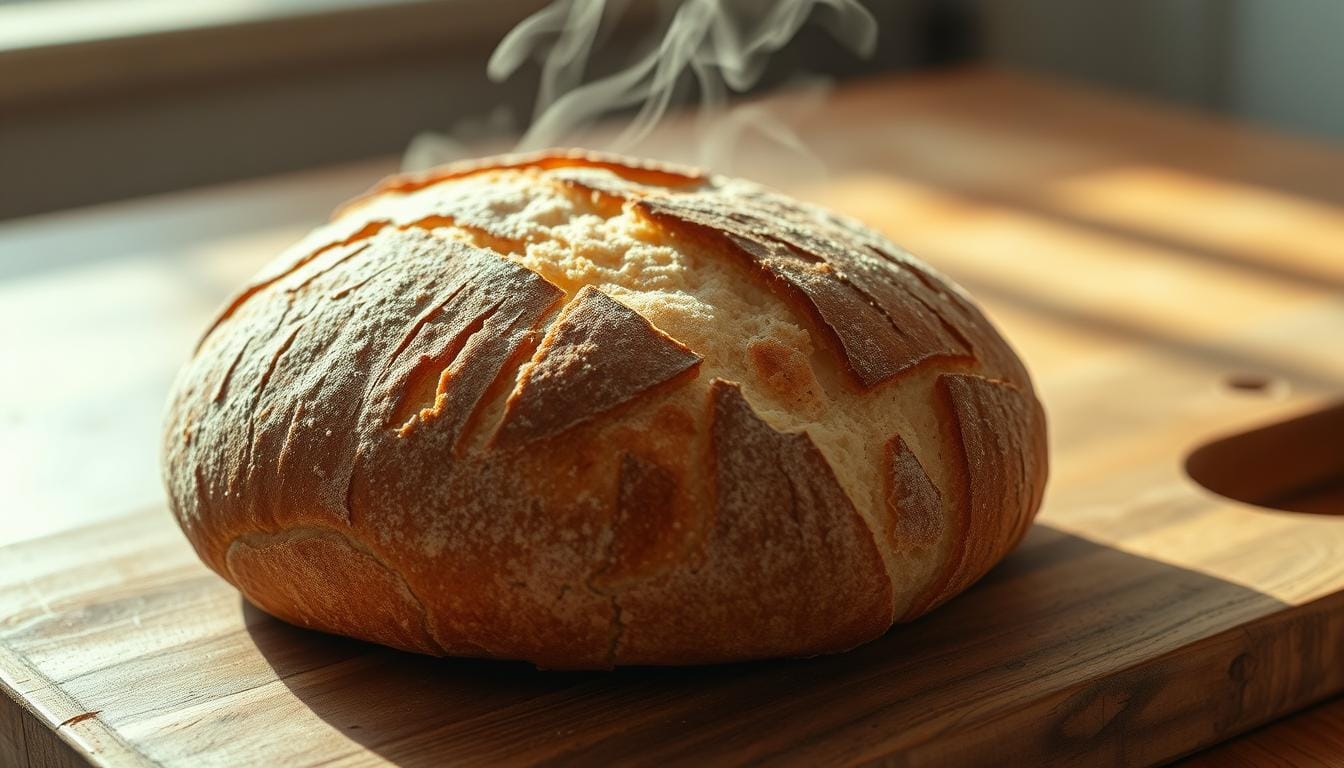
Baking Your Sourdough Bread
Learning how to bake bread is key to making perfect crusty bread at home. The baking process turns your sourdough into a tasty treat. It has a crispy outside and a soft inside.
Ideal Oven Temperature for Perfect Sourdough
Finding the right baking temperature is vital for success. Professional bakers suggest a precise method:
- Preheat your oven to 500°F for 20 minutes
- Reduce temperature to 450°F when adding the dough
- Bake with lid on for 25 minutes
- Finish baking without lid for 20 minutes
Using a Dutch Oven for Spectacular Results
A Dutch oven is perfect for bread baking. The enclosed space traps steam, which is key for a crispy crust. Here’s why it’s great:
- Retains moisture during initial baking
- Provides even heat distribution
- Helps create professional-level oven spring
“The secret to great sourdough is patience and the right baking method.” – Artisan Baker
Let your bread cool for 2-3 hours before slicing. This ensures the perfect texture and flavor. Your homemade crusty bread will be worth the wait!
Common Sourdough Bread Mistakes to Avoid
Making perfect sourdough bread takes skill and patience. Even seasoned bakers face hurdles with bread baking and proofing times. Knowing common mistakes can boost your sourdough skills and make tasty, professional loaves.
Navigating Dough Consistency Challenges
Getting the dough right is key in sourdough baking. Many home bakers face issues with dough hydration and texture. Here are some common problems:
- Overly wet dough that spreads instead of rising
- Dense, compact bread from insufficient hydration
- Uneven crumb structure due to improper mixing
Understanding Fermentation Pitfalls
Fermentation is vital for your sourdough bread. Proofing times are crucial for flavor and texture.
| Fermentation Issue | Signs | Solution |
|---|---|---|
| Under Fermentation | Dense, gummy texture | Extend fermentation time |
| Over Fermentation | Flat, sour-tasting bread | Reduce fermentation duration |
“Perfect sourdough is about patience and understanding your dough’s unique characteristics.” – Professional Baker
Temperature and Environment Considerations
Room temperature greatly affects bread baking. Struggling to keep it warm? Try these tips:
- Use a bread-proofing mat
- Invest in a dedicated bread proofer
- Create a warm, draft-free proofing environment
By learning from these common mistakes, you’ll get better at sourdough bread baking. Remember, each loaf is a chance to learn!
Storing and Enjoying Your Sourdough Bread
Your freshly baked sourdough bread needs the right care to keep its taste and texture. It stays fresh for 5 to 7 days if stored well. The best taste is in the first 3 days after baking.
For short-term storage, keep it at room temperature, 60 to 70°F. Use 100% linen bags for crusty loaves. They let air in but keep moisture out. Don’t put it in the fridge, as it dries out quickly. Freeze slices in a heavy-duty bag for up to two weeks if you won’t eat it all in two days.
Stale sourdough can still be used in many ways. It’s great for croutons, breadcrumbs, or French toast. The lactic acid in sourdough keeps it fresh longer than yeast bread. Cool it down before storing to avoid mold.
Best Ways to Store Your Bread
Try different storage methods like beeswax wraps or brown paper bags. Bread boxes are okay, but other methods might keep it fresher. The goal is to keep it dry but let it breathe.
Creative Serving Ideas and Recipes
Use every part of your sourdough. Slice it for sandwiches, toast it for breakfast, or make bruschetta. Each loaf is a part of your baking story, so find new ways to enjoy it.
FAQ
What is a sourdough starter and why do I need it?
A sourdough starter is a mix of flour and water with wild yeast and bacteria. It’s key for sourdough bread because it leavens naturally. This gives the bread a tangy taste and complex flavors.
How much time does it take to prepare a starter for sourdough?
It takes about 5-7 days to make a sourdough starter. You need to feed it daily with flour and water. It’s ready when it doubles in size fast and smells sour.
Can I use whole wheat flour for my sourdough bread?
Yes, you can use whole wheat flour for sourdough bread. It adds rich flavors and nutrients. But, it has more bran, so start with a mix of whole wheat and bread flour.
How do I know when my sourdough has proofed enough?
To check if your sourdough is ready, gently poke it with a floured finger. If it springs back slowly, it’s ready. If it springs back fast, it needs more time. If it doesn’t spring back, it’s over-proofed.
Why is my sourdough bread dense and not fluffy?
Dense sourdough can come from an inactive starter or not enough gluten. Make sure your starter is active and use the stretch and fold technique. Also, give it enough time to proof.
How should I store my sourdough bread?
Store your sourdough bread at room temperature in a paper bag for 2-3 days. For longer storage, freeze it. Avoid plastic bags to keep the crust crispy.
Can I make sourdough bread without a Dutch oven?
Yes, you can make sourdough bread without a Dutch oven. Use a baking stone or preheated baking sheet. For a crispy crust, use steam by placing water in the oven or spraying it when baking.