Homemade Chicken Nugget Recipe – Quick & Crispy
Table of Contents
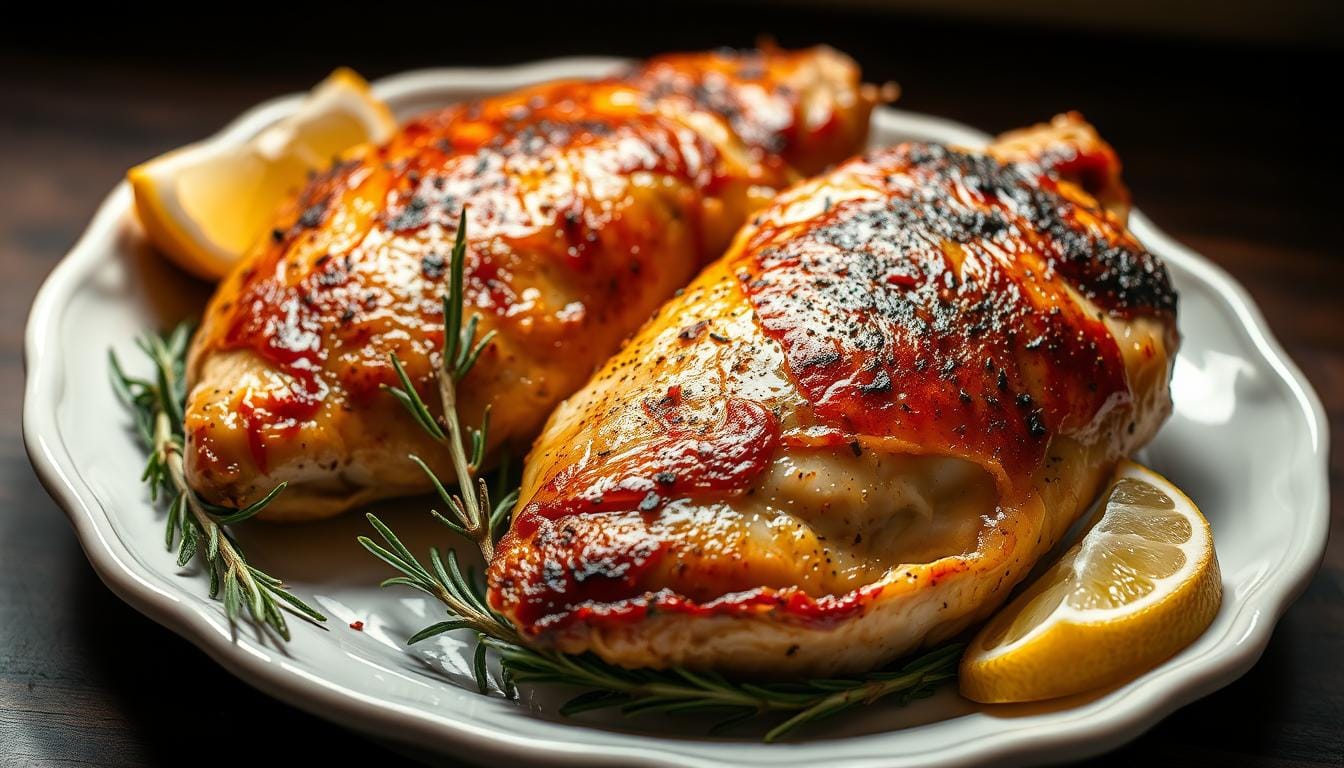
Homemade Chicken Nugget Recipe
Ever crave that crispy, golden bite but want something healthier than fast food? You’re not alone. Many of us love the convenience of a quick snack, but we also want to know exactly what’s in our food. That’s where this homemade version comes in.
This recipe is designed to be quick and easy, perfect for busy weeknights or a fun family cooking project. With simple ingredients and a baking method, you can enjoy a crispy treat without the guilt of deep frying. Plus, it’s a family-approved favorite that even picky eaters will love.
Ready to get started? Let’s dive into a dish that’s as delicious as it is simple to make.
Introduction: Why You’ll Love Homemade Chicken Nugget
Looking for a quick, healthy meal that everyone will enjoy? This dish is perfect for busy weeknights or a fun family cooking project. With just a few minutes of prep and minimal cooking time, you can have a crispy, golden treat on the table in no time.
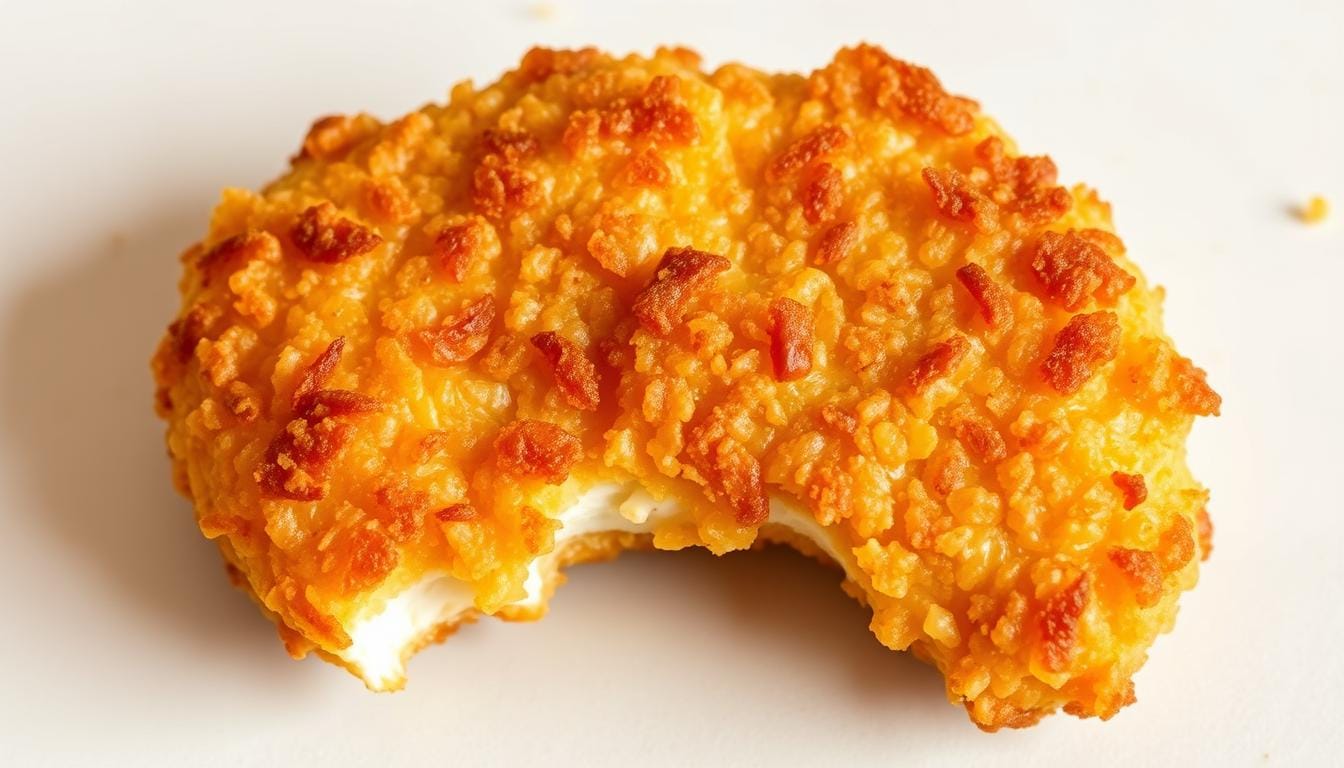
Quick & Crispy Appeal
The purpose of this recipe is to save you time without compromising taste. Using quality chicken breast and a well-balanced mixture of spices, each bite is packed with taste. The process is simple, so you can focus on enjoying the meal rather than spending hours in the kitchen.
A Healthier, Home-Cooked Alternative
When you make this dish at home, you control the ingredients. No hidden additives or excessive oils—just wholesome, nutritious components. It’s a healthier option that doesn’t compromise on the crispy texture you love.
Here’s a quick comparison of homemade vs. store-bought options:
| Aspect | Homemade | Store-Bought |
|---|---|---|
| Prep Time | 10 minutes | 0 minutes |
| Cooking Time | 15 minutes | 10 minutes |
| Calories per Serving | 200 | 226 |
| Ingredients | Simple, fresh | Processed, additives |
With this recipe, you’ll appreciate the home-cooked advantage. It’s quick, healthy, and perfect for any time of day.
Gathering Essential Tools and Ingredients
To create a crispy, golden treat at home, having the right tools and ingredients is essential. The quality of your setup and the freshness of your components can elevate your dish from average to exceptional. Let’s break down what you’ll need to ensure success.
Kitchen Tools You Need
The procedure runs more smoothly and effectively when the proper instruments are used. Here’s what you’ll need:
- Sheet Pan: Perfect for baking, ensuring even cooking and crispiness.
- Parchment paper: It makes cleanup easy and keeps things from sticking.
- Sharp Knife: For precise cutting and portioning.
- Mixing Bowls: Essential for combining ingredients evenly.
These tools help you achieve the perfect texture without the need for a deep fryer. Using a spray of oil ensures a golden finish without excess fat.
Key Ingredients for Success
The ingredients you choose play a crucial role in flavor and texture. Here’s what to include:
- Quality Protein: Fresh, lean cuts ensure a tender bite.
- Panko Breadcrumbs: Adds a light, crispy coating without heaviness.
- Avocado Oil: A healthier alternative with a high smoke point, perfect for baking.
- Kosher Salt: Enhances flavor without overpowering the dish.
Using minimal fat and properly measured ingredients keeps the dish light yet delicious. Fresh spices and a touch of fiber-rich components add depth and balance.
With the right tools and ingredients, you’re set to create a dish that’s crispy, flavorful, and healthier than store-bought options.
Step-by-Step Chicken Nugget Recipe
Ready to whip up a quick, homemade treat that’s both crispy and satisfying? Follow these simple steps to create a dish that’s golden, flavorful, and healthier than store-bought options. Let’s dive into the process!
Preparing and Cutting Your Protein
Start by preheating your oven to 400°F. Line a sheet pan with parchment paper for easy cleanup. Next, take your fresh protein and cut it into uniform, bite-sized pieces. This ensures even cooking and a perfect texture.
Place the pieces on a plate and season them with garlic, salt, and other spices. Use about 1 teaspoon of each for a balanced flavor. Let the pieces sit for a few minutes to absorb the seasoning.
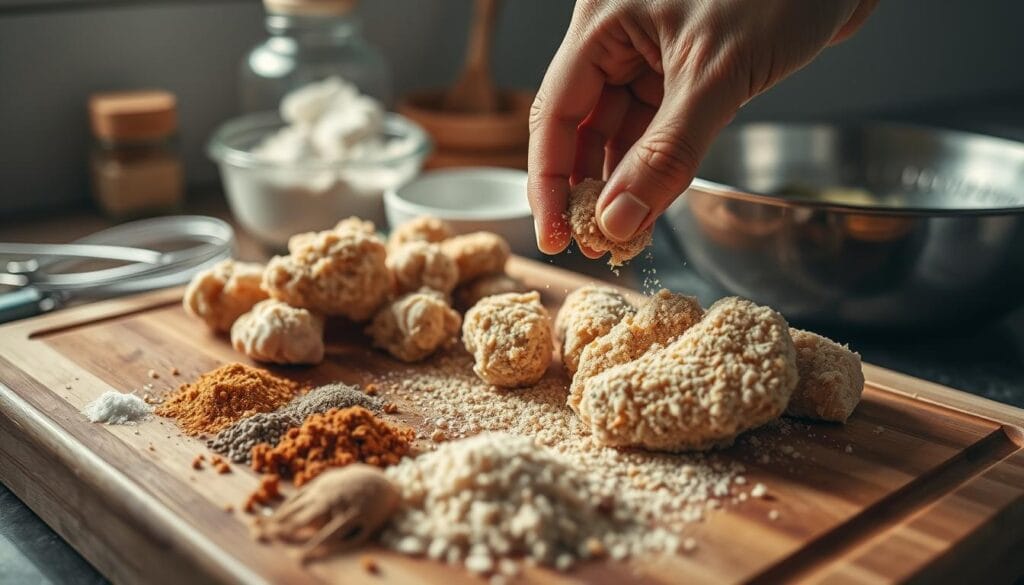
Breading and Coating Process
Prepare two bowls: one for the egg wash and another for the breadcrumb mixture. In the first bowl, whisk together 2 eggs and 1 tablespoon of water. In the second, combine 1 cup of panko breadcrumbs with 1 teaspoon of garlic powder and 1 tablespoon of Italian seasoning.
Dip each piece into the egg wash, then coat it evenly with the breadcrumb mixture. Press gently to ensure the coating sticks. Place the coated pieces back on the plate.
Baking and Cooking Instructions
Arrange the coated pieces on the prepared sheet pan, leaving space between each for even baking. Lightly spray with avocado oil for a golden finish. Bake in the preheated oven for 15-18 minutes, flipping halfway through.
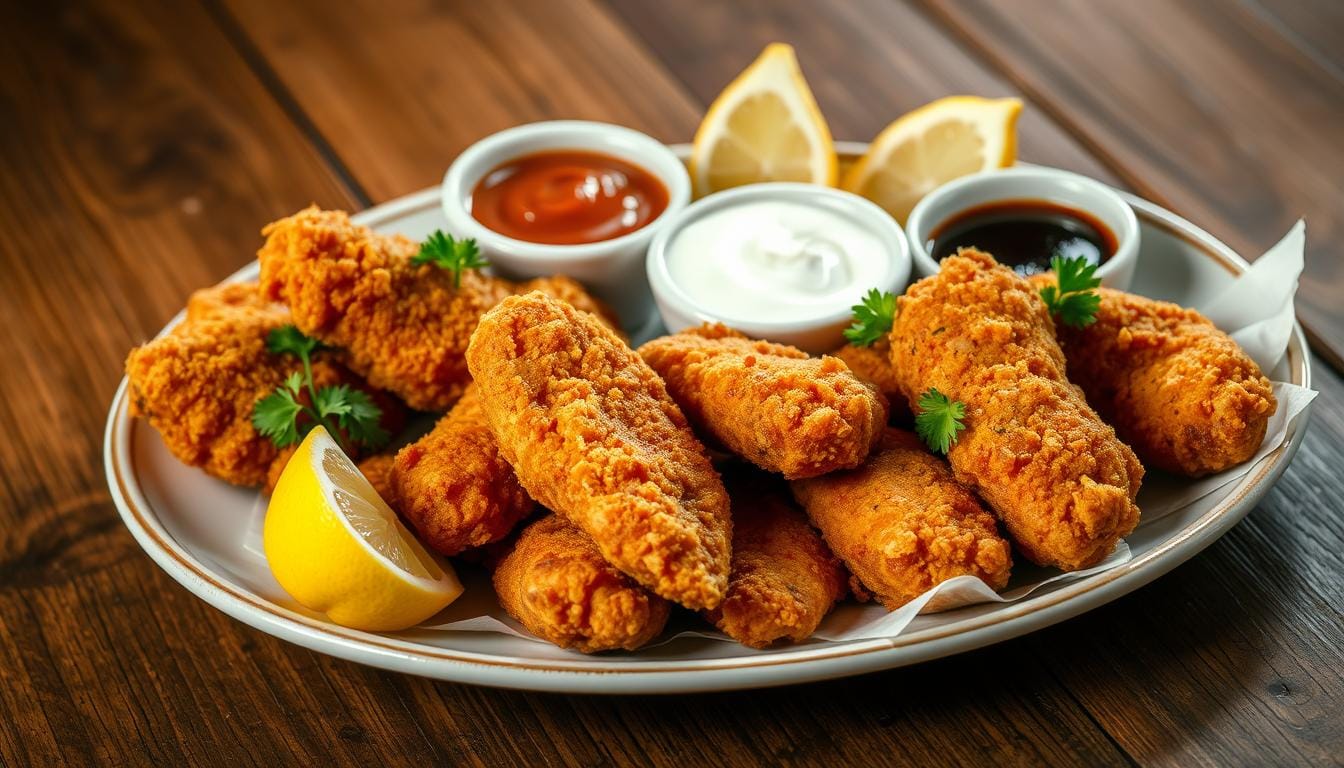
Once they’re golden and crispy, remove from the oven and let them cool slightly. Serve with your favorite dipping sauce for a delicious, homemade snack everyone will love!
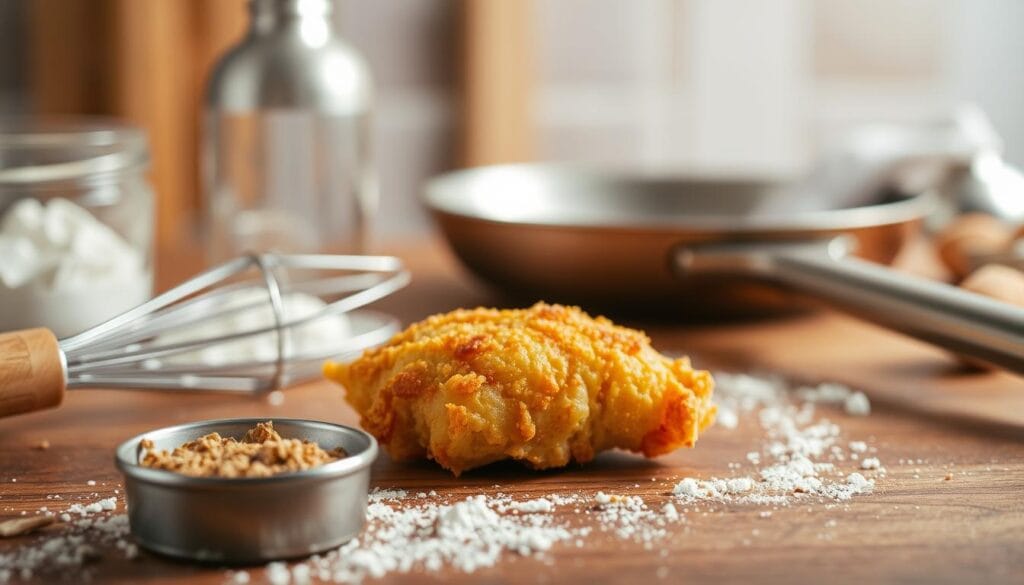
Mastering Seasoning, Breading, and Cooking Techniques
Perfecting the art of seasoning and breading can take your homemade dish to the next level. With a few expert tips, you can achieve a balanced flavor and ideal texture every time. Let’s dive into the details to refine your cooking skills.
Start by focusing on seasoning. A mix of garlic, salt, and other spices can elevate the taste. Use about 1 teaspoon of each for a serving of 4-6 pieces. This ensures a consistent flavor profile without overpowering the dish.
When measuring ingredients like a cup of panko or seasonings, accuracy is key. Too much or too little can affect the final result. Use measuring tools to ensure repeatable success. For example, 1 cup of panko breadcrumbs is ideal for coating 1.5 lbs of protein.
Maintaining the quality of your protein is crucial. Fresh, lean cuts ensure a tender bite and better vitamin retention. Avoid over-seasoning, as it can mask the natural flavors of the homemade chicken.
Here are some advanced tips to refine your dish:
- Experiment with spice blends like paprika or cayenne for a unique twist.
- Let the breaded pieces rest for 10-15 minutes before cooking. This helps the coating adhere better.
- Bake at 400°F for 15-18 minutes, flipping halfway through. This ensures even crispiness.
By mastering these techniques, you can create a dish that’s flavorful, crispy, and packed with vitamin-rich ingredients. Keep the core elements intact while experimenting with variations for consistent results.
Customizations and Variations for Every Taste
Want to make your dish unique and tailored to your taste? Here’s how! This versatile meal can be adapted to suit dietary needs and personal preferences. Whether you’re gluten-free, love extra spice, or want to experiment with different cuts, the possibilities are endless.
For a gluten-free option, swap traditional breadcrumbs with almond flour or crushed pork rinds. These alternatives keep the coating crispy while accommodating dietary restrictions. If you enjoy a kick of heat, add chili powder or extra pepper to the seasoning mix.
Modifying the egg wash can also change the texture and flavor. Try using mayonnaise or Dijon mustard for a richer taste. These small tweaks can make a big difference in the final result.
Experiment with the size of each piece to suit your meal. Smaller bites work great as appetizers, while larger portions can be the star of a main course. You can even use ground protein for a different texture.
Here’s a quick guide to popular variations:
| Variation | Key Ingredient | Flavor Profile |
|---|---|---|
| Gluten-Free | Almond Flour | Light, Crispy |
| Spicy | Chili Powder | Bold, Fiery |
| Rich | Mayonnaise | Creamy, Savory |
Don’t forget to pair your creation with a delicious sauce. From tangy BBQ to creamy ranch, the right dip can elevate the entire experience. By making these adjustments, you can enjoy a dish that’s uniquely yours while keeping the core flavors intact.
Quick Tips for Perfecting Crispiness
Achieving the perfect crispiness at home is easier than you think. With a few expert techniques, you can enjoy that golden brown finish every time. Whether it’s for a casual dinner or a family meal, these tips will elevate your dish.
Start by preheating your oven to the right degree. A temperature of 400°F ensures even cooking and a crispy exterior. This step is crucial for achieving the texture you love.
Next, arrange your pieces on a sheet pan with enough space between them. Crowding can lead to steaming, which softens the coating. For extra crispiness, lightly spray with oil before baking.
Even for a simple dinner at home, these small adjustments make a big difference. Trusted affiliate brands of oil sprays and nonstick sheets can also enhance results. They ensure consistent quality and ease of use.
Here’s a quick checklist to keep in mind:
- Preheat your oven to 400°F.
- Space pieces evenly on the pan.
- Lightly spray with oil for a golden brown finish.
- Flip halfway through cooking for even crispiness.
By following these tips, you’ll feel confident every time you prepare your dish. Crispy, delicious results are just a few steps away!
Serving Ideas and Delicious Dipping Sauces
Transform your meal into a fun and flavorful experience with creative serving ideas and dipping sauces. Whether you’re hosting a gathering or enjoying a family dinner, these tips will elevate your dish to the next level.
Start by exploring unique ways to serve your creation. Add them to a fresh salad for a light yet satisfying meal. Wrap them in a whole-grain tortilla with crisp veggies for a quick sandwich. These options not only enhance flavor but also balance carbohydrate intake.
Pair your dish with homemade dipping sauces for an extra burst of flavor. Try a tangy barbecue sauce or a creamy ranch dressing. For a spicy kick, mix honey with chipotle for a bold dip. Each sauce adds a unique twist to your meal.
Here’s a quick guide to popular sauces:
| Sauce | Key Ingredients | Flavor Profile |
|---|---|---|
| Barbecue | Ketchup, Honey, Vinegar | Tangy, Sweet |
| Ranch | Mayonnaise, Sour Cream, Herbs | Creamy, Savory |
| Sweet Chili | Chili Flakes, Sugar, Vinegar | Spicy, Sweet |
Preparing a large batch? Store extras in an airtight container at the right temperature to maintain freshness. Reheat in the oven for the best texture. These instructions ensure your meal stays delicious even the next day.
Garnish your dish with fresh herbs or serve on a decorative plate for a restaurant-quality look. Don’t forget to pin these ideas on your favorite social media boards for future inspiration. With these tips, every bite will be a delight!
Storing, Reheating, and Freezing Your Nuggets
Keep your homemade bites fresh and crispy with these storage and reheating tips. Proper techniques ensure your meal stays flavorful and retains its texture, whether you’re saving leftovers or prepping for future meals.
For short-term storage, place your bites in an airtight container. This prevents moisture loss and keeps them fresh for 3-4 days in the refrigerator. If you’re planning to freeze them, flash freezing is the way to go. Arrange the pieces on a baking sheet and freeze for 30-60 minutes before transferring to a freezer-safe bag. This prevents them from sticking together and maintains their crispiness.
When it’s time to reheat, the oven or air fryer is your best bet. Preheat your oven to 375°F and bake for 10-15 minutes, flipping halfway through. For an air fryer, set it to 350°F and cook for 5-7 minutes. Both methods restore the golden exterior without making them soggy.
To refresh the flavors, sprinkle a pinch of garlic powder or black pepper before reheating. These seasonings enhance the taste without adding extra sodium. If you’re watching your salt intake, skip additional seasoning and rely on the natural flavors of your dish.
Here’s a quick guide to storing and reheating:
- Refrigerate: Use airtight containers for up to 4 days.
- Freeze: Flash freeze before transferring to freezer bags for up to 3 months.
- Reheat: Oven at 375°F for 10-15 minutes or air fryer at 350°F for 5-7 minutes.
By following these steps, you can enjoy your homemade favorites anytime without sacrificing flavor or texture. Proper storage and reheating make meal prep easier and more efficient.
Conclusion
Bringing a homemade touch to your meals has never been easier. This dish is perfect for busy families, offering a quick and kid-friendly option that everyone will enjoy. Whether you use breast or other cuts, the process remains simple and adaptable to your preferences.
Utilize your oven for baking to achieve that golden, crispy finish. If you’re meal prepping, your freezer is a great tool for storing extra batches. A sprinkle of powder seasoning can elevate the flavor, making each bite even more delicious.
This dish is not just about convenience—it’s about creating something wholesome and enjoyable. Perfect for quick dinners or fun snacks, it’s a recipe that brings everyone together. Give it a try and see how easy it is to make meals special at home!
FAQ
What makes homemade nuggets healthier than store-bought ones?
Making them at home lets you control the ingredients. You can use lean breast meat, less salt, and healthier oils. This reduces fat and sodium while boosting protein and fiber.
Can I bake in an air fryer instead?
Yes, an air fryer works great. It gives a crispy texture with less oil. Set it to 375°F and cook for 8-10 minutes, flipping halfway through.
How do I store leftovers for later?
Let them cool, then place in an airtight container. They last 3-4 days in the fridge or up to 3 months in the freezer. Reheat in the oven or air fryer for best results.
What dipping sauces pair well with these?
Try honey mustard, barbecue sauce, or ranch. For a tangy twist, mix Greek yogurt with garlic powder and black pepper.
Can I make these gluten-free?
Absolutely. Swap regular breadcrumbs for gluten-free ones or crushed cornflakes. You can also use almond flour for a low-carb option.
How do I ensure they stay crispy?
Pat the meat dry before coating. Use a wire rack when baking to let air circulate. Avoid overcrowding the pan when frying.
Can I prepare these ahead of time?
Yes, you can bread them and freeze before cooking. When ready, bake or fry directly from the freezer, adding a few extra minutes to the cooking time.