Easy Cake Pop Recipe: How to Make Sweet Treats at Home
Table of Contents
Cake Pop Recipe:
Every time I bite into a cake pop, memories of childhood birthday parties flood back. These adorable bite-sized desserts aren’t just treats – they’re edible moments of pure joy. Whether you’re a baking novice or a seasoned pastry enthusiast, this cake pop recipe will transform your kitchen into a sweet wonderland.
Cake pops have revolutionized dessert creativity, offering a perfect blend of cake and frosting in one delightful package. With this easy cake pop recipe, you’ll learn how to craft these irresistible treats that are guaranteed to impress at any gathering. The best part? You only need a few simple cake pop ingredients to get started.
Our tested recipe promises delicious results every time. In just one hour, you can create 24 stunning cake pops that will have everyone asking for your secret. These miniature desserts aren’t just delicious – they’re a canvas for your culinary creativity, allowing you to experiment with flavors, decorations, and personal touches.
Get ready to dive into the world of cake pops – where baking meets artistry, and every bite tells a sweet story.
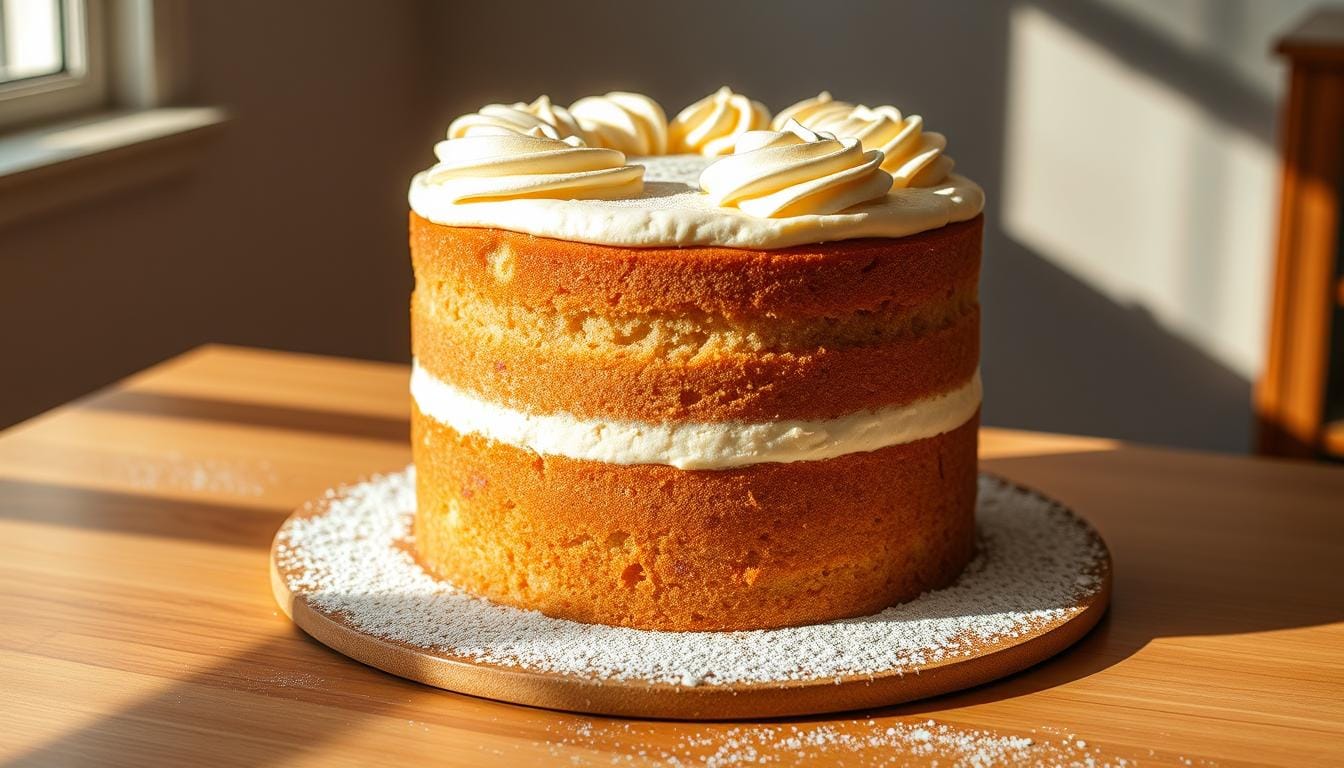
What Are Cake Pops?
Cake pops are a tasty treat made from leftover cake. They are small, delicious, and look great. People love them on Instagram and Pinterest.
To make cake pops, you mix crumbled cake with a little frosting. The key is to use just the right amount of frosting. Too much makes the mix too soggy.
Origin of Cake Pops
Cake pops started as a way to use up leftover cake. Bakerella, a famous food blogger, made them popular around 2008. Now, bakers can get creative with these treats.
“Cake pops are more than just a dessert – they’re an edible work of art!” – Culinary Expert
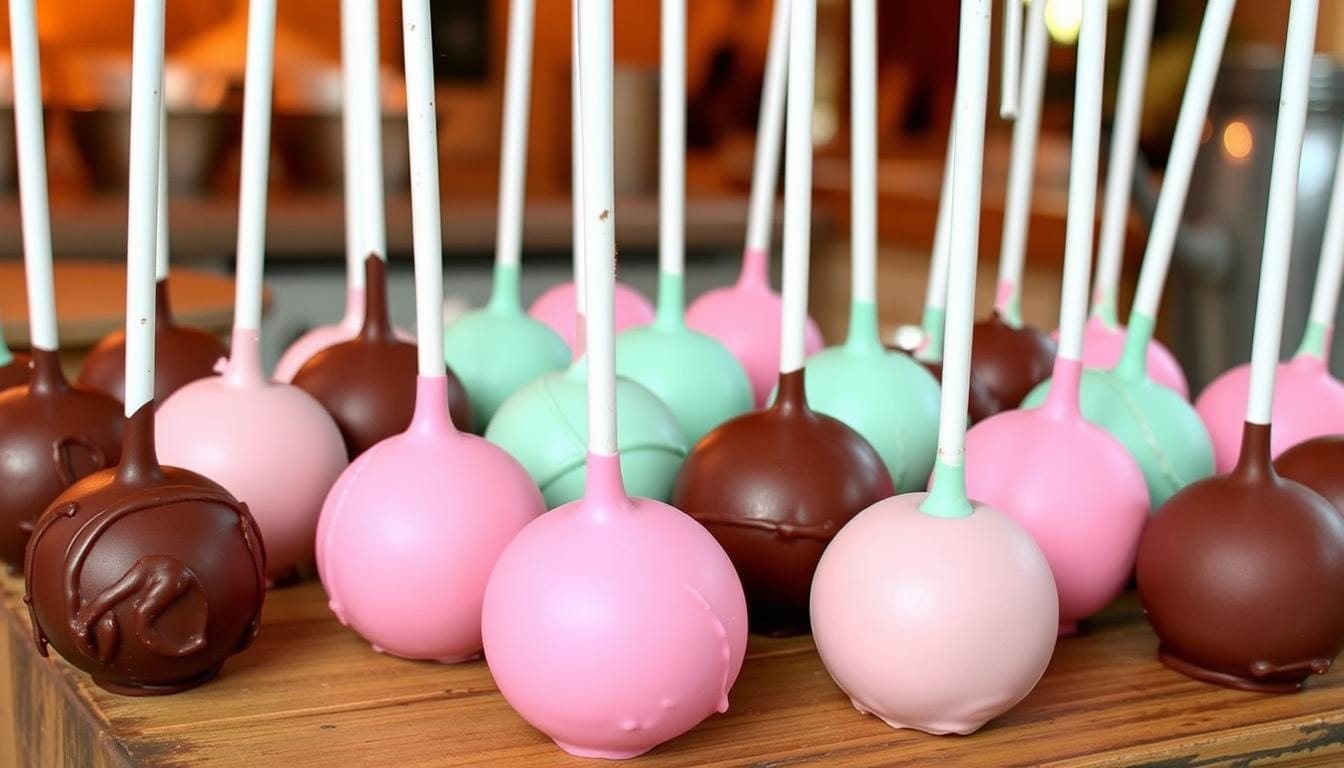
Popular Cake Pop Variations
There are many cake pop flavors to try. Here are some favorites:
- Classic Chocolate: Rich chocolate cake with chocolate coating
- Red Velvet: Cream cheese frosting with red velvet cake
- Funfetti: Colorful sprinkle-filled cake with vanilla coating
- Seasonal Specials: Themed cake pops for holidays and events
One box cake mix can make about 13 cake pops. They’re perfect for parties. With a little creativity, you can make a simple cake into a beautiful dessert.
Essential Ingredients for Cake Pops
Making cake pops is all about the right ingredients. Knowing what you need makes the process easy. It turns simple cake into tasty treats you can eat in one bite.
Cake Base Options
Choosing the right cake base is key. You can pick from:
- Box cake mix (quick and convenient)
- Homemade scratch cake recipes
- Vegan cake alternatives
- Gluten-free cake variations
Experts say use 2½ cups of cake mix for a batch. Bake at 350°F for about 15 minutes.
Cake Pop Frosting Selections
The frosting makes your cake pops special. Cream cheese is a top choice for its creamy taste.
| Frosting Type | Characteristics | Recommended Use |
|---|---|---|
| Cream Cheese | Rich, tangy flavor | Best for binding cake crumbs |
| Buttercream | Sweet, classic taste | Good for traditional cake pops |
| Vegan Frosting | Plant-based alternative | Ideal for dietary restrictions |
Decorating Supplies
Finish your cake pops with these decorating tools:
- Lollipop sticks (6 inches long)
- Candy melts or chocolate for coating
- Sprinkles (¼ cup recommended)
- Semi-sweet dark chocolate chips (1½ cups)
Pro tip: Bring out only 10 cake balls at a time for dipping to maintain their shape and consistency.
Your ingredients are the start of a wonderful dessert. With the right choices, you’ll make treats that everyone will enjoy.
Tools You Will Need
Making cake pops is fun with the right tools. Whether you’re new or experienced, the right equipment makes it easier and more fun.
Before you begin, make sure you have these key tools. They help your cake pops come out perfectly every time.
Basic Baking Equipment
You probably already have most of the basic tools:
- 9 x 13-inch baking pan
- Large mixing bowls
- Electric mixer
- Microwave-safe bowl for melting chocolate
- Measuring cups and spoons
- Cooling rack
Specialty Cake Pop Tools
For better cake pops, consider these special tools:
| Tool | Purpose | Recommended Quantity |
|---|---|---|
| Lollipop Sticks | Inserting into cake balls | 24 sticks |
| Cake Pop Molder | Shaping uniform cake balls | 1¼ inch diameter |
| Candy Melts | Coating and decorating | 12 oz |
| Crisco Shortening | Thinning chocolate coating | 1½ tsp |
Pro tip: While specialty tools can help, creativity and practice are your best assets in cake pop making!
“The right tools transform good baking into great baking.” – Professional Baker’s Wisdom
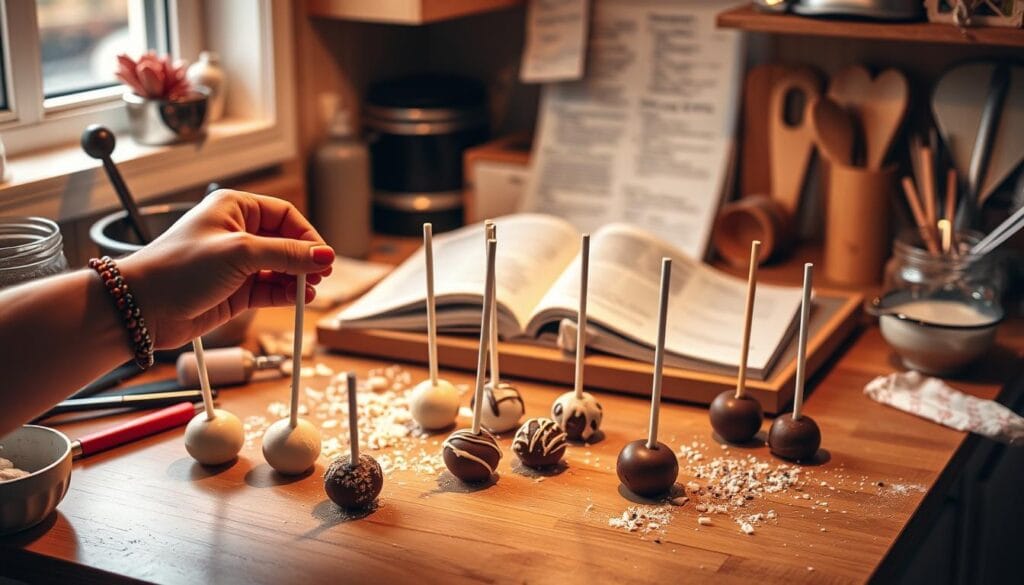
Step-by-Step Cake Pop Directions
Making cake pops is all about precision and patience. Your journey starts with careful preparation and technique. We’ll guide you through each step to make perfect treats.
Baking the Cake
Begin by baking a simple cake. You can use:
- 1 box of classic yellow cake mix
- Ingredients as specified on the box
- Standard 9×13 inch baking pan
Crumbling and Mixing
After the cake cools, it’s time to crumble it. Use:
- Food processor
- Clean hands
- Fork
Mix the crumbled cake with:
- 1 ¼ cups of vanilla frosting
- Crumbled cake
“The key is achieving a dough-like consistency that holds together when squeezed.”
Shaping the Cake Balls
Forming the cake balls is key. Roll the mix into balls that are:
- 1.25-inch diameter
- Use about 2 tablespoons of mix per ball
- Place balls on a foam board
Chill the cake balls for the best results:
- 90 minutes in the freezer
- 3 hours in the refrigerator
Pro tip: If it’s too sticky, add more cake crumbs. If too dry, add more frosting.
How to Dip Cake Pops in Chocolate
Learning to dip cake pops is key to making them look great. The right way to dip can turn your cake pops into something special. Let’s explore how to dip them in chocolate to improve your decorating skills.
Preparing to Melt Chocolate
Choosing the right chocolate is important for a smooth coat. You should use:
- Candy melts
- High-quality chocolate chips
- Chocolate bark coating
Chocolate Melting Techniques
Here’s how to melt chocolate perfectly:
- Use microwave-safe bowls
- Melt in 30-second intervals
- Stir between each interval
- Add 1-2 tablespoons of Crisco Shortening for smooth consistency
| Chocolate Type | Melting Time | Best For |
|---|---|---|
| Candy Melts | 45-60 seconds | Bright colors |
| Chocolate Chips | 30-45 seconds | Rich flavor |
| Chocolate Bark | 60-90 seconds | Smooth coating |
Dipping Techniques for Perfect Cake Pops
Here are some pro tips for dipping:
- Dip cake pop stick in melted chocolate first
- Allow 5 minutes of cooling before dipping
- Tap off excess chocolate gently
- Rotate to create even coating
“The secret to perfect cake pops is patience and practice.”
Troubleshooting Dipping Challenges
Some common problems include:
- Chocolate cracking: Let cake balls rest at room temperature
- Uneven coating: Use gentle, consistent dipping motion
- Chocolate sliding off: Ensure cake balls are well-chilled
With these tips, you’ll make stunning cake pops that look like they came from a bakery.
Decorating Your Cake Pops
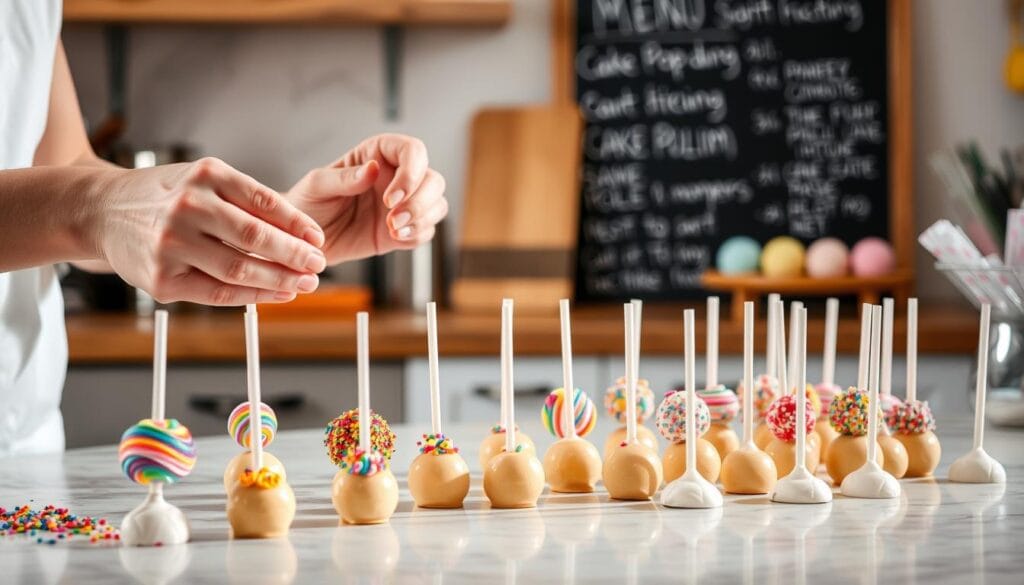
Creating stunning cake pops is an art form. It turns simple treats into eye-catching desserts. Cake pop decorating lets you unleash your creativity and make each bite special. Whether for a party or a gift, mastering cake pop toppings makes your treats stand out.
The secret to perfect cake pop decorating is timing and technique. Add sprinkles or decorations right after dipping, when the chocolate is still wet. This makes sure your toppings stick well and look professional.
Sprinkles and Toppings Techniques
- Classic rainbow sprinkles for a festive look
- Metallic sugar crystals for elegant design
- Crushed nuts for texture and flavor
- Edible glitter for sparkle
Creative Decorating Ideas
Turn your cake pops into themed masterpieces with special toppings. Here are some creative ideas:
- Animal-themed designs with colored candy melts
- Holiday-specific decorations
- Character-inspired cake pop styles
- Ombré color gradient techniques
Packaging and Presentation Tips
| Packaging Type | Best For | Recommended Occasions |
|---|---|---|
| Clear cellophane bags | Individual cake pops | Party favors, gifts |
| Decorative gift boxes | Multiple cake pops | Celebrations, weddings |
| Custom ribbon wrapping | Themed events | Baby showers, birthdays |
“The magic of cake pops lies not just in their taste, but in their visual appeal and creative presentation.” – Baking Enthusiast
Remember, practice makes perfect in cake pop decorating. Don’t be afraid to try different toppings and techniques. This will help you find your unique style.
Flavor Combinations to Try
Exploring different cake pop flavors can make your recipe stand out. Whether you love baking or just desserts, finding new flavors can take your cake pops to the next level.
Classic Flavor Favorites
Some flavors are always in style. These are great for both new and seasoned bakers:
- Vanilla cake with vanilla buttercream
- Chocolate cake with peanut butter frosting
- Red velvet cake with cream cheese frosting
Unique Flavor Pairings
For those looking to try something new, here are some unique combinations:
- Cinnamon Roll Cake Pops
- Mint Chocolate Chip Cake Pops
- Maple Bacon Cake Pops
- Strawberry Shortcake Pops
Seasonal Cake Pop Variations
Make the most of each season with themed cake pop flavors:
| Season | Cake Pop Flavor |
|---|---|
| Spring | Carrot Cake Pops |
| Summer | Key Lime Cake Pops |
| Fall | Cocoa Mug Cake Pops |
| Winter | Toasted S’more Pops |
“The beauty of cake pops is their versatility—you can transform any flavor into a delightful bite-sized treat!” – Baking Enthusiast
With these flavors, you’ll always have something new to try. Remember, the key to fun is being creative with your cake pop recipe!
Troubleshooting Common Cake Pop Problems
Baking cake pops can be tricky, even for experienced bakers. Knowing common challenges helps you make perfect treats every time. Let’s look at the most frequent issues and how to solve them.
Cracking Cake Pops
Cake pops often crack because of temperature differences. When a cold cake ball meets hot chocolate, it can break. To avoid this:
- Let cake balls rest at room temperature for 10-15 minutes before dipping
- Avoid over-chilling cake balls in the freezer
- Ensure chocolate coating is between 86-90°F
Cake Pops Not Sticking
Keeping cake pops on their sticks can be tricky. A thick or thin coating can cause them to slip. Here are some tips for success:
- Dip stick tip in melted chocolate before inserting into cake ball
- Use approximately 1/3 cup frosting per cake mix
- Ensure cake balls are compact and uniform (around 20 grams each)
| Problem | Cause | Solution |
|---|---|---|
| Stick Slippage | Insufficient chocolate binding | Dip stick in chocolate before insertion |
| Cake Ball Weakness | Too much/little frosting | Use 1/3-1/2 cup frosting |
Overly Dry Cake Pops
Dry cake pops come from the wrong moisture balance. Here are some tips for baking:
- Use Greek yogurt or applesauce to manage cake moisture
- Add just enough frosting to bind cake crumbs
- Avoid overbaking the initial cake base
“Perfect cake pops are about balance: not too wet, not too dry, just right!” – Professional Baker
Mastering cake pops takes practice. Each challenge is a chance to get better and make treats that look and taste great.
Storing Cake Pops
Creating the perfect cake pop recipe is just the beginning. Knowing how to store your delightful treats ensures they remain fresh and delicious for days or even weeks after preparation.
Proper storage is crucial for maintaining the quality of your homemade cake pops. Different storage methods can help preserve their texture and flavor.
Room Temperature Storage
For short-term storage, your cake pop recipe can remain fresh at room temperature. Here’s what you need to know:
- Homemade cake pops last approximately 3-4 days
- Store-bought cake pops can stay fresh up to 1-2 weeks
- Use an airtight container to prevent moisture
Refrigeration Techniques
Refrigeration extends the life of your cake pops with these simple steps:
- Store in sealed containers
- Maintain freshness for up to 2 weeks
- Wrap individually to prevent sticking
Freezing Cake Pops
Freezing is an excellent method for long-term cake pop recipe preservation:
| Storage Method | Duration | Recommended Thawing |
|---|---|---|
| Freezer Storage | Up to 3 months | 1 day in refrigerator |
| Room Temperature Thawing | 1 hour before serving | Prevents moisture condensation |
Pro Storage Tips
To keep your cake pops in top condition:
- Use wax paper between cake pops
- Avoid temperature extremes
- Check for moisture before storing
“Proper storage is the secret to enjoying your cake pops at their absolute best!” – Baking Experts
Remember, each cake pop recipe might have slight variations in storage recommendations. Always trust your instincts and visual cues when storing these delightful treats.
Ideas for Cake Pop Occasions
Cake pops are perfect for any celebration. They can be made for baby showers, summer parties, and more. Your business can stand out by creating unique designs for each event.
Holiday celebrations are great for creative packaging. Think about Valentine’s Day heart-shaped pops or Christmas designs. Seasonal flavors like pumpkin spice make great gifts. You can also create themed sets for Mother’s Day or summer barbecues.
Professional bakers and home cooks can get creative with cake pops. Try football-shaped pops for game day or elegant flower designs for weddings. With just 15 minutes of prep, you can make stunning treats for any event.
Party Themes and Celebrations
Cake pops are versatile for any event. They can match your celebration’s theme perfectly. Whether it’s a movie-inspired design or a classic birthday flavor, there’s a cake pop for every party.
Gift Ideas with Cake Pops
Make your cake pops into special gifts with unique packaging. A cake pop bouquet or a personalized set can be a memorable present. Your business can focus on creating custom gift collections that impress.
Cake Pops for Special Events
Special events need special desserts. Wedding receptions, birthdays, and corporate events can be enhanced with cake pops. Offer flavors like vanilla, red velvet, and No-Bake Monster Cookie Balls to please everyone.
FAQ
What exactly are cake pops?
Cake pops are small desserts made from cake and frosting. They’re shaped into balls, then covered in chocolate or candy melts. A lollipop stick is added to make them easy to eat.
How long do cake pops take to make?
Making cake pops takes about 2-3 hours. This includes baking, cooling, mixing, and decorating. You can do it in steps over several days if you want.
Can I make cake pops ahead of time?
Yes! You can make cake pops up to 3-4 days before serving. Keep them in an airtight container in the fridge. For longer storage, freeze them for up to 6 weeks.
Can I make cake pops without a cake pop maker?
Yes! You can make cake pops the old-fashioned way. Bake a cake, crumble it, mix with frosting, shape into balls, and coat. This method is more flexible and creative.
What are some popular flavor combinations?
Popular flavors include vanilla cake with chocolate coating and red velvet with cream cheese frosting. Chocolate cake with peanut butter coating is also a favorite. Seasonal flavors like pumpkin spice and peppermint are also loved.
How do I store and transport cake pops?
Store cake pops in an airtight container in the fridge. For transport, use a cake pop stand or styrofoam block. Clear bags with twist ties are great for individual servings.
Are cake pops difficult to make for beginners?
Cake pops are doable for beginners. They require practice, but it’s worth it. Start simple, be patient, and remember, each batch gets better.
Can I make cake pops gluten-free or vegan?
Yes! Use gluten-free cake mixes or recipes for gluten-free pops. For vegan options, choose plant-based cake, dairy-free frosting, and vegan chocolate.